
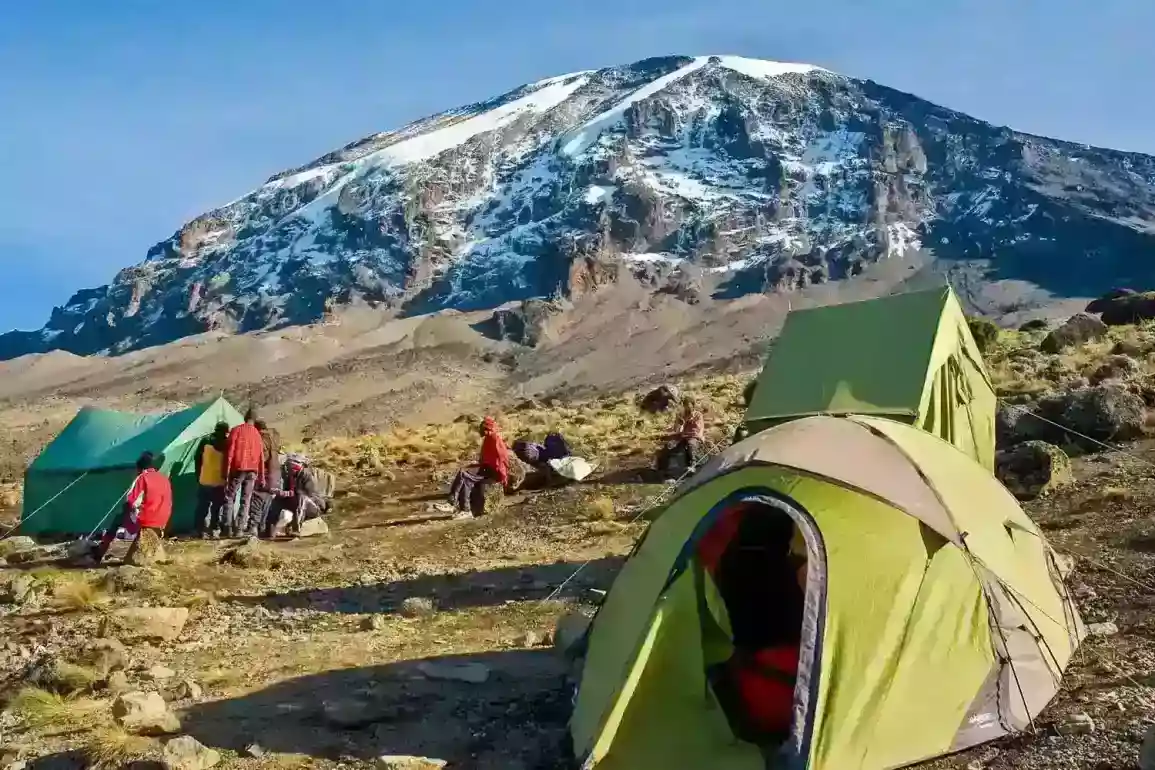
Day 1: Moshi to Londorossi Gate, then Mti Mkubwa Camp
After breakfast, we drive toward Londorossi Gate for park registration and entry formalities. The vehicle then continues toward the Lemosho trailhead, where the mountain crew prepares for the trek. You begin through montane forest toward Mti Mkubwa Camp.
The original itinerary estimates about 7 km of hiking and roughly 2–3 hours on the trail after reaching the starting point. Forest conditions can be wet or muddy, so keep waterproof layers accessible.
- Approximate camp altitude: 2,650 m
- Approximate hiking distance: 7 km
- Approximate walking time: 2–3 hours
- Overnight: Mti Mkubwa Camp
Day 2: Mti Mkubwa Camp to Moir Area
This is a long day on the shortened six-day schedule. The itinerary first climbs toward Shira 1, then continues across the Shira highlands toward the Moir area. The original schedule estimates roughly 7 km to Shira 1 followed by about 9 km onward toward camp.
Because this day includes substantial altitude gain, steady pacing and immediate reporting of headache, nausea, dizziness or unusual fatigue are especially important.
- Approximate destination altitude: around 4,200 m
- Approximate total distance: about 16 km
- Approximate walking time: about 7–9 hours
- Overnight: Moir area camp
Day 3: Moir Area to Barranco Camp via Lava Tower
You continue through high-alpine terrain toward Lava Tower at about 4,600 m. After reaching the higher point, the route descends toward Barranco Camp at approximately 3,940 m. This higher daytime exposure followed by sleeping lower is an important acclimatization feature of the day.
The existing itinerary estimates around 9 km and roughly 6–8 hours of trekking. Mild altitude symptoms can appear at these elevations; tell your guide immediately rather than trying to hide them.
- High point: Lava Tower, about 4,600 m
- Sleep altitude: Barranco Camp, about 3,940 m
- Approximate distance: 9 km
- Approximate walking time: 6–8 hours
Day 4: Barranco Camp to Barafu Camp via Karanga
After breakfast, you tackle the Barranco Wall and continue toward the Karanga Valley before ascending to Barafu Camp. This is another demanding day with repeated ascent and descent before the final climb toward the summit base camp.
The original itinerary estimates approximately 9 km and 8–10 hours. Once at Barafu, the priority is food, hydration, final equipment checks and rest before the summit attempt begins late at night.
- Approximate destination altitude: 4,673 m
- Approximate distance: 9 km
- Approximate walking time: 8–10 hours
- Overnight: Barafu Camp
Day 5: Barafu Camp to Uhuru Peak, then Descend to Mweka Camp
The summit attempt normally begins around midnight. You climb slowly toward Stella Point on the crater rim and, if your health, weather and your guide's safety assessment allow, continue to Uhuru Peak at 5,895 m. Reaching the summit is the objective, but it is not guaranteed.
After the summit attempt, you descend back toward Barafu for a short rest and then continue to Mweka Camp. This is the longest and most demanding day of the itinerary, so warmth, hydration, pacing and honest symptom reporting are critical.
- Summit altitude: 5,895 m
- Approximate ascent distance: about 5 km
- Approximate descent distance: about 12 km to Mweka Camp
- Overnight: Mweka Camp, around 3,100 m
Day 6: Mweka Camp to Mweka Gate, then Return to Moshi
After breakfast, you descend through the forest to Mweka Gate. Lower sections can be wet and muddy, so trekking poles and rain protection may still be useful. Park exit procedures are completed at the gate, and eligible summit certificates are issued according to the point reached.
Our vehicle then transfers you from the gate to the agreed Moshi-area drop-off point. The original itinerary estimates around 10 km and 3–4 hours of walking.
- Gate altitude: about 1,640 m
- Approximate distance: 10 km
- Approximate walking time: 3–4 hours
- Transfer: Mweka Gate to agreed Moshi-area drop-off